Your Map Fragment checklist
Progress is saved only in this browser's essential local storage. It is not uploaded or linked to an account.
0 of 11 marked found on this device.
Route overview
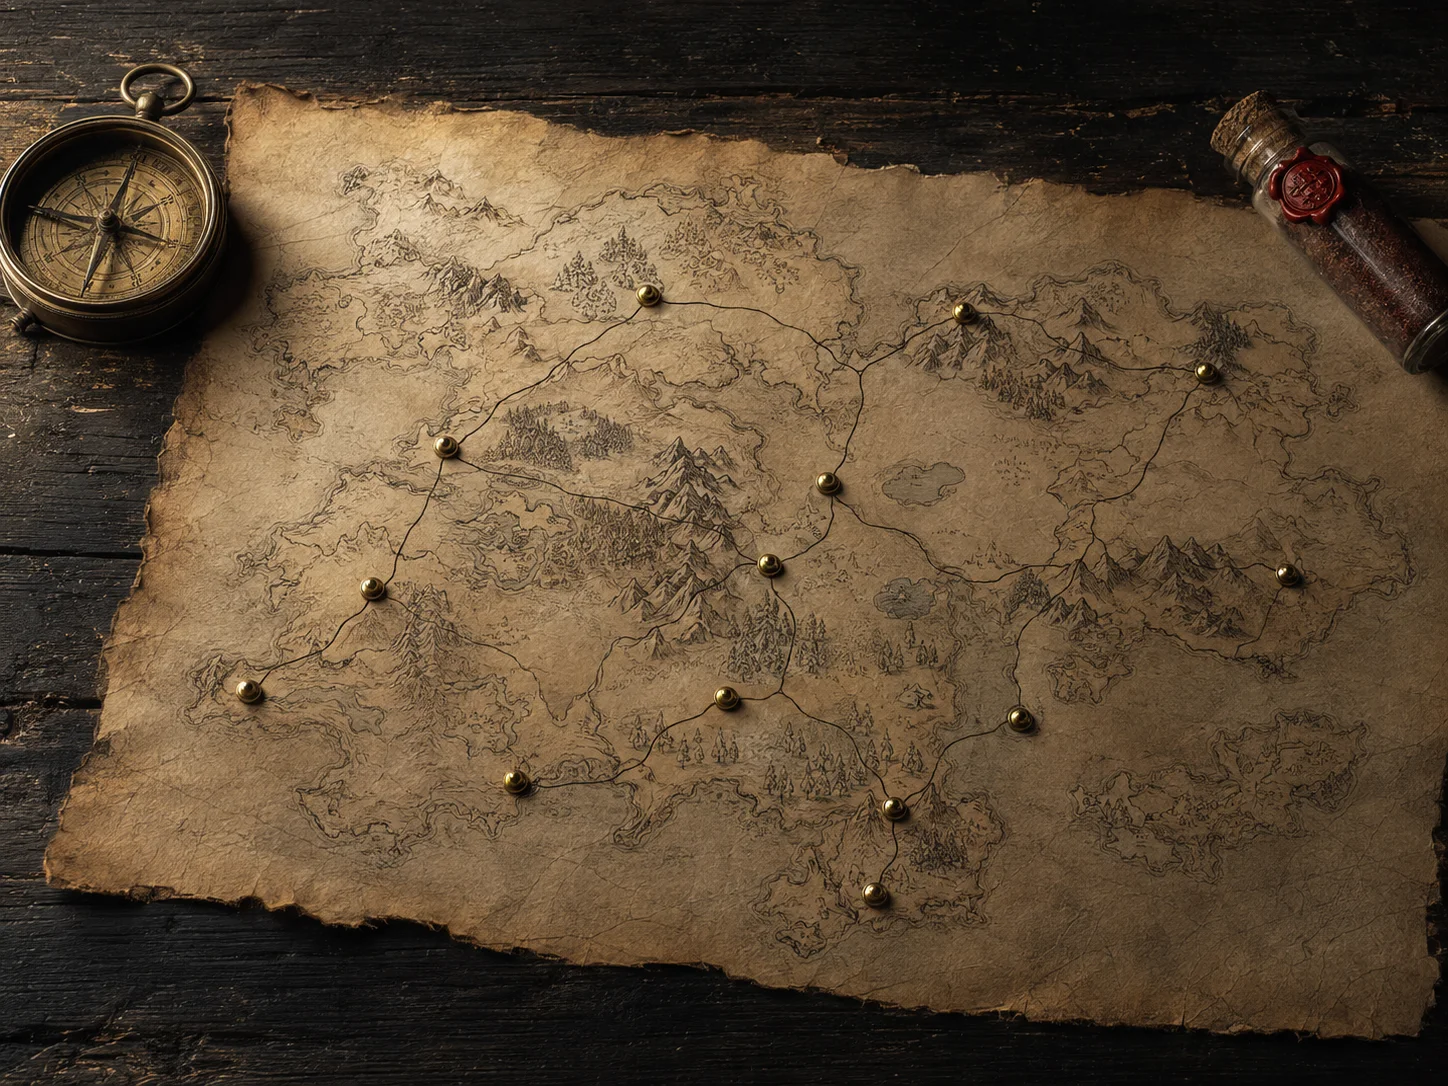
Collect Fainweald's five fragments while its Beacons are active, then move the checklist to Mammon. The original illustration above is a navigation motif, not an exact in-game map or replacement for the numbered landmark steps.
| # | Fragment | Region | Nearest reference | Requirement |
|---|---|---|---|---|
| 1 | Map of Fainweald [1] | Fainweald | Outskirts of Nochte | None |
| 2 | Map of Fainweald [2] | Fainweald | One-Legged Wolf | Cell escape and Jump Pad |
| 3 | Map of Fainweald [3] | Fainweald | Widow's Overlook | None |
| 4 | Map of Fainweald [4] | Fainweald | Widow's Overlook | Jump Pad |
| 5 | Map of Fainweald [5] | Fainweald | One-Legged Wolf | Mether's Breath |
| 6 | Map of Mammon [1] | Mammon | Outskirts of Mammon route | Traversal Gate and a Sidearm |
| 7 | Map of Mammon [2] | Mammon | Gate of Infinity | Traversal Point |
| 8 | Map of Mammon [3] | Mammon | Gate of Infinity | Traversal Gate and lift |
| 9 | Map of Mammon [4] | Mammon | Abandoned Outpost | Traversal Point |
| 10 | Map of Mammon [5] | Mammon | Outskirts of Mammon | None |
| 11 | Map of Mammon [6] | Mammon | High Lord's Courtyard | None |
Fainweald Map Fragments
Fainweald contains five pieces. Widow's Overlook, One-Legged Wolf and Outskirts of Nochte give the most useful return points. One route requires Mether's Breath and two use Jump Pad or cell traversal.
Map of Fainweald [1]
Prerequisite: None.
- Run from the Beacon toward the swamp enemies.
- Turn left when the path reaches the cliff edge.
- Turn left again, pass through the stone arch and collect the fragment from Ruk on the statue.
After pickup, open the inventory or regional map and confirm the numbered item. If the fog or label does not match, leave this checklist item open until the current build is verified.
Map of Fainweald [2]
Prerequisite: Cell escape and Jump Pad.
- Touch the bag on the eastern bridge northeast of the tavern; it transports you into a nearby cell.
- Strike the cell to escape and circle the upper walkway until you reach the Jump Pad.
- Ride the pad to the upper area, follow the outside edge and collect the fragment from Ruk.
After pickup, open the inventory or regional map and confirm the numbered item. If the fog or label does not match, leave this checklist item open until the current build is verified.
Map of Fainweald [3]
Prerequisite: None.
- Head north beyond the combat trial and remain on the main path.
- At the branch, keep left and continue to the bridge.
- Cross the bridge and take the fragment from Ruk on the statue.
After pickup, open the inventory or regional map and confirm the numbered item. If the fog or label does not match, leave this checklist item open until the current build is verified.
Map of Fainweald [4]
Prerequisite: Jump Pad.
- Travel south of Widow's Overlook toward the raised island west of Tiel's area.
- Find the Jump Pad at the island's base.
- Use it to reach the top and collect the fragment from the raised platform.
After pickup, open the inventory or regional map and confirm the numbered item. If the fog or label does not match, leave this checklist item open until the current build is verified.
Map of Fainweald [5]
Prerequisite: Mether's Breath.
- Leave One-Legged Wolf heading north.
- Use Mether's Breath to pass the Corruption Gate beside the rock wall.
- Continue beyond the barrier and collect the fragment from Ruk.
After pickup, open the inventory or regional map and confirm the numbered item. If the fog or label does not match, leave this checklist item open until the current build is verified.
Mammon Map Fragments
Mammon contains six pieces. Its routes use bells, platforms, lifts, Traversal Gates and cliff approaches more heavily. Finish one landmark chain at a time so the vertical layout does not blur separate pickups.
Map of Mammon [1]
Prerequisite: Traversal Gate and a Sidearm.
- Use the Traversal Gate and stop on the cliff edge beside the large bell.
- Shoot the bell and wait for the platform to appear, then cross and open the lever gate.
- Descend the steps, pass the bridge and collect the fragment from Ruk.
After pickup, open the inventory or regional map and confirm the numbered item. If the fog or label does not match, leave this checklist item open until the current build is verified.
Map of Mammon [2]
Prerequisite: Traversal Point.
- Leave Gate of Infinity toward the bridge.
- Use the Traversal Point to reach the stairway.
- Climb the stairs, take the left-hand route and collect the fragment from Ruk.
After pickup, open the inventory or regional map and confirm the numbered item. If the fog or label does not match, leave this checklist item open until the current build is verified.
Map of Mammon [3]
Prerequisite: Traversal Gate and lift.
- Cross the bridge and use the Traversal Gate to reach the stairs.
- Pass through the gap, ride the lift and continue through the castle to the outside.
- Descend both stair sets, turn right at the bottom and collect the fragment from Ruk.
After pickup, open the inventory or regional map and confirm the numbered item. If the fog or label does not match, leave this checklist item open until the current build is verified.
Map of Mammon [4]
Prerequisite: Traversal Point.
- Head from the Beacon to the nearby Traversal Point and cross the gap.
- Walk toward the tree with several coffins arranged in front of it.
- Climb the hill behind the tree and take the fragment from Ruk.
After pickup, open the inventory or regional map and confirm the numbered item. If the fog or label does not match, leave this checklist item open until the current build is verified.
Map of Mammon [5]
Prerequisite: None.
- Follow the path west from the Beacon.
- Cross the bridge leading southwest.
- Enter the center of the area and collect the fragment from the statue.
After pickup, open the inventory or regional map and confirm the numbered item. If the fog or label does not match, leave this checklist item open until the current build is verified.
Map of Mammon [6]
Prerequisite: None.
- Stand at High Lord's Courtyard Beacon and face the nearby broken castle wall.
- Cross the short open ground to the wall.
- Collect the fragment from Ruk's statue beside the masonry.
After pickup, open the inventory or regional map and confirm the numbered item. If the fog or label does not match, leave this checklist item open until the current build is verified.
What all eleven fragments unlock
Each piece removes fog from part of its region, making return routes, unexplored edges and Beacon relationships easier to read. Collecting all eleven supports the Sat Nav achievement. The guide does not invent an additional item reward where the current checklist and achievement description do not name one.
A revealed map is not a completed region. Dungeons, keys, Shell routes, traversal points and optional objectives can remain after the fog disappears. Use the map as a planning layer, then return to the walkthrough or collection checklist for the next concrete objective.